

EC REVERSE DOT
14” Snare Drum Tune Up Kit ESTUK-14ECSRD-1
EC REVERSE DOT SNARE TUNE UP KIT
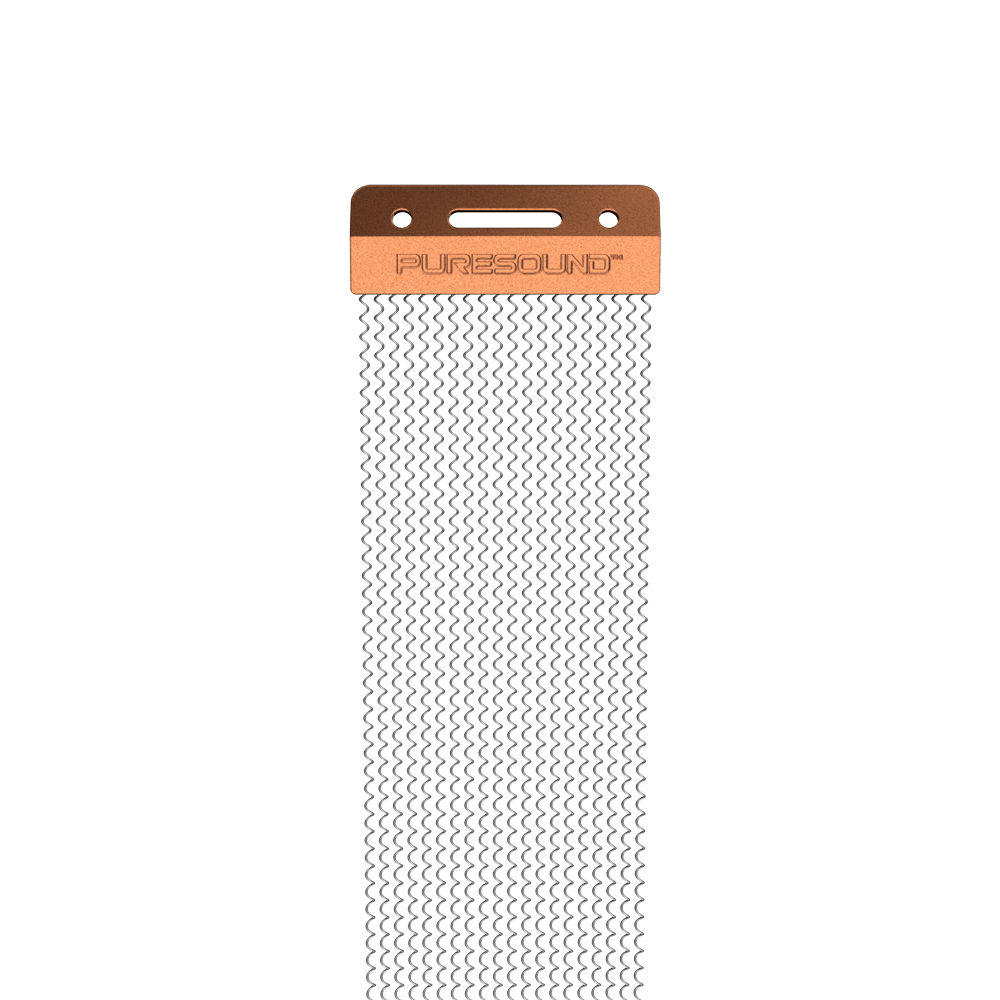
Activate your snare’s full potential with this full-featured tune up kit built around the Evans EC Reverse Dot snare head. When paired with industry standard accessories like Puresound Wire, the Snare Side 300 and all the accessories you need to get your snare into top condition, these balanced, two-ply heads result in a drumming experience with controlled resonance and sensitivity at all dynamic ranges.
HOW-TO INSTALL
Upgrading your snare hardware with the Snare Tune Up Kit is a critical step toward
perfecting your snare tone. Follow the steps below to ensure a smooth, successful installation.
UNINSTALL
Before the upgrade can commence, old or worn hardware elements must first be removed. Locate a flat work surface, assemble the necessary tools (drum key & screwdriver), and follow the steps to uninstall.
1
Disengage snares and remove existing snare wire. (Drum Tuning Key/Screwdriver)
2
Carefully loosen and remove snare side tension rods in a cross pattern. (Drum Tuning Key)
3
Remove snare side hoop and head. Set tension rods aside.
4
Carefully loosen and remove batter side tension rods in a cross pattern.
5
Remove batter side hoop and head. Set Tension rods aside.
CLEAN
With the drum disassembled, use this opportunity to clean the shell with the included
Polish Cloth. Use the included Metal Polish to revive hoops and metal hardware. You may
also wish to apply the included Lug Lubricant to ensure a smooth installation and tuning process.
INSTALL
With the disassembled drum now clean and lubricated, the installation process may begin. Follow these steps to ensure that the installation of all new hardware elements goes smoothly, leaving the snare ready to be tuned and dialed in to your preferred tone.
6
Place new batter head and batter side hoop on drum.
7
Install lubricated batter side tension rods to finger-tightness.
8
Place new snare side head and snare side hoop on drum, taking care to align bottom hoop with snare bed.
9
Install lubricated snare side tension rods to finger tightness.
10
Attach snare wire to snare hardware. (Drum Tuning Key/Philips Head Screwdriver)
TUNE
With the snare reassembled and fitted with its new Tune Up Kit hardware, the final step
is to tune it up. Each player’s preferences for tuning are different, but if you’d like some
tips on tuning, installation, and achieving your ideal tone, check out the video below.


