
Drum Set Survival Guide
Everything you need to know about tuning your drumheads.
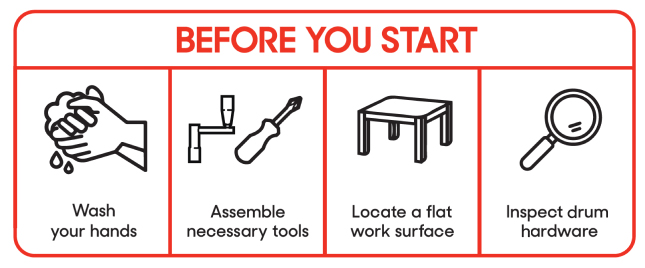
GENERAL TUNING TIPS

Clean off the bearing edges and counter hoop before installation. Remove any lint or debris from inside the shell.

Listen to the head through all steps in the tuning process. Strive for a clear, focused sound by keeping all lugs in tune at all times.

Develop your “key technique” by monitoring the amount you turn each lug and how it affects pitch. Developing a good “feel” for tuning will help the process.
Remember:
Always use the Opposite Lug tuning Sequence (OLS) by referring to the
diagram that is relative to the number of lugs for your drum.
TUNING – SNARES & TOMS
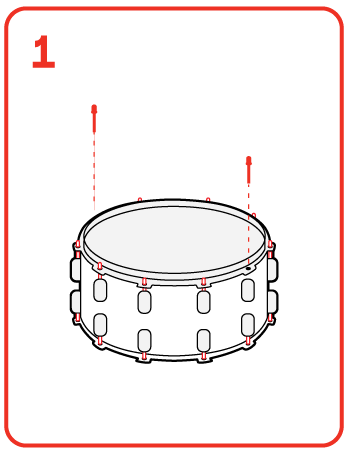
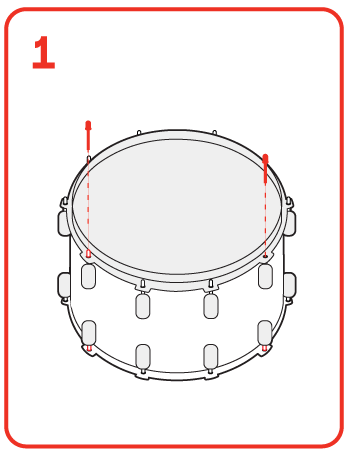
Step 1
Finger-tighten all lugs to create equal starting tension.

Step 2
With 1/2 turns from a drum key, use the appropriate tuning sequence to tune the head until it resonates.
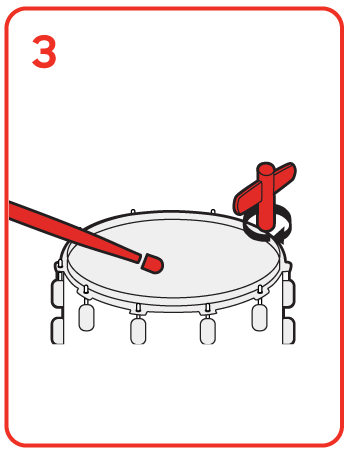
Step 3
While tapping the head with a stick slightly off-center, tune each lug in small increments (1/4 turns) until the head begins to resonate and the wrinkles in the head disappear.
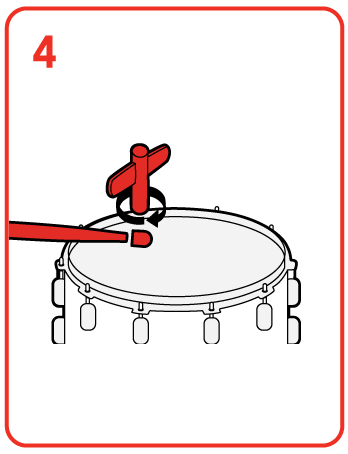
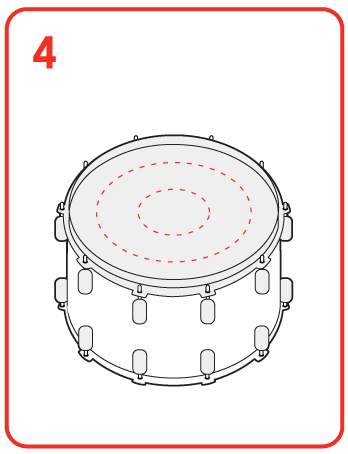
STEP 4
Fine tune the drum by tapping directly in front of each tension rod while tuning around the drum. Strive for equal pitch at each tension rod. Use this technique to bring the head up to the desired pitch.

Step 5
Tune the bottom head using this same process, closely matching the pitch to the batter head.

SNARE WIRE INSTALLATION
Utilize the same general techniques described for tuning toms.
Our recommended pitch for the bottom snare head is A-440.
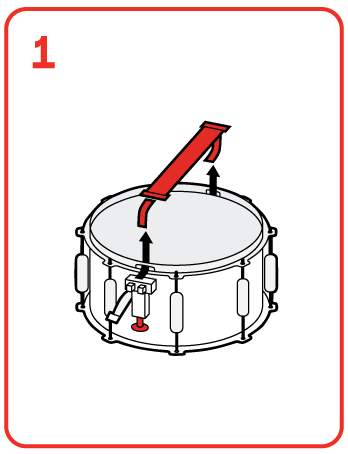
Step 1
Remove old snare wires and adjust the snare tension knob until it’s halfway between its highest and lowest positions.
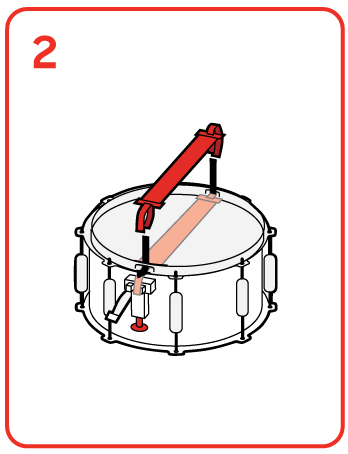
Step 2
Thread the snare cord or strap through the end plates and center the snare wire unit on the bottom head.
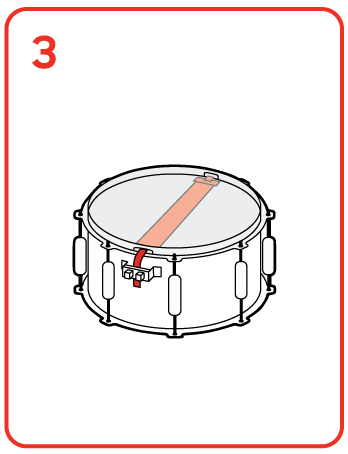
Step 3
Using the snare cord or strap, attach one end of the snare wire to the butt end clamp (do not tighten clamp).
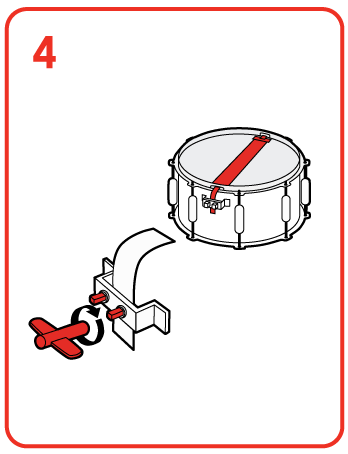
Step 4
Center the snare wire unit across the head (end plates must not touch the bearing edge) and then tighten the butt end clamp.
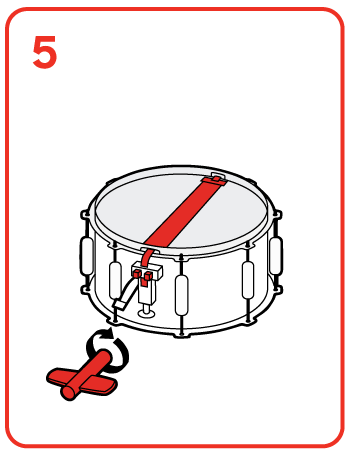
Step 5
Thread the snare cord or strap through the strainer clamp while in its “off” position and tighten the clamp.
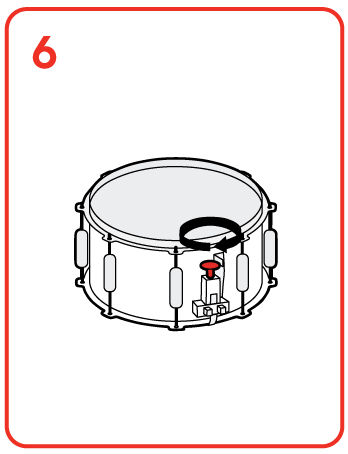
Step 6
Turn the strainer on and adjust the tension knob to your desired snare response.
TUNING – BASS
Step 1
Prepare the bass drum and mount the batter head like the toms and snare.

Step 2
Tighten the batter head using the sequential tuning pattern until the head begins to resonate.
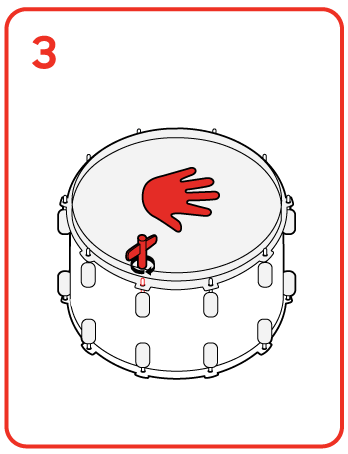
Step 3
To achieve the lowest possible pitch for your bass drum, stand over the drum and place your palm in the center of the head. While applying pressure, de-tune each tension rod until you begin to see wrinkles, then turn the key one full turn back. The drum will be at the lowest pitch while still fully resonating.
Step 4
Clear the head of excess overtones, as before.
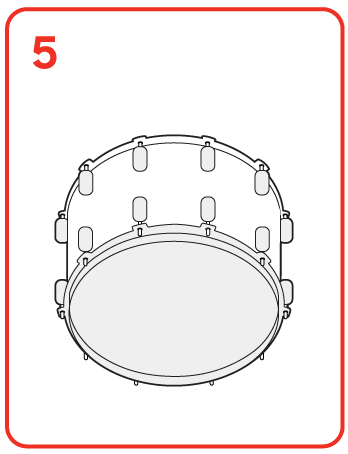
Step 5
Flip the drum over and repeat for the resonant head.

Step 6
After initial tuning is complete, position the drum into playing position. Strike the front head slightly above the center and adjust the resonant and batter head as needed, using the “wrinkle technique” if necessary.

Step 7
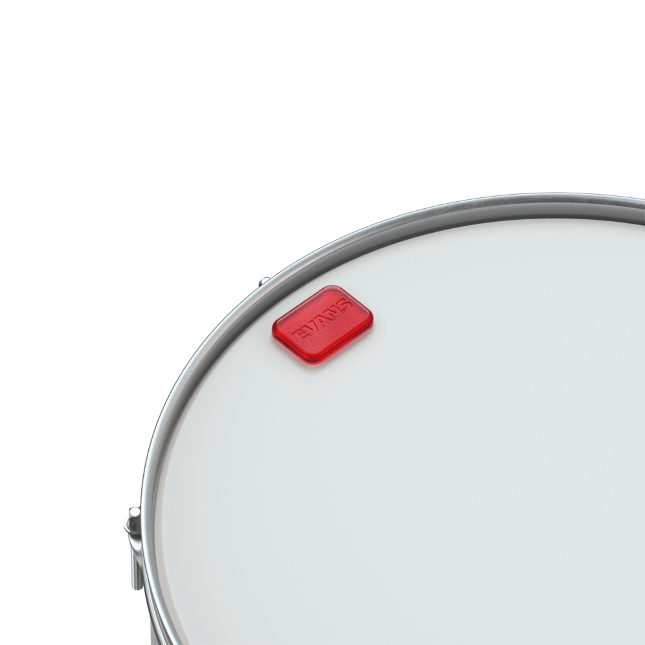
The EVANS EQ pad can be positioned in several different ways. Experiment! Multiple pads can be installed for more muffling options.

UPGRADE YOUR DRUMMING