How To Restring An Electric Guitar
A comprehensive guide to restringing your electric guitar: preserving your instrument's sound and playability.
![]()
Step 1: Gather the Necessary Tools and Materials
Step 2: Preparing Your Workspace

1. Find a clean, well-lit area where you can work comfortably.
2. Put down a rolled towel or Universal Neck Rest support to hold up the guitar’s neck and lay down a WYKYK String Change Mat or a soft cloth/towel to protect the guitar's body from scratches or damage – unless you’re going for that relic’d guitar look, then scratch away!
3. Set up a stable surface, such as a table or workbench, to securely hold your guitar.
Step 3: Removing the Old Strings
1. Loosen the tension of each string with the tuning peg, this will relieve pressure and make removing the strings easier. A string winder is your best friend here.
2. Once the strings are sufficiently loose, cut them at the 12th fret using a Pro-Winder or wire cutters. This will allow you to coil both sides of the string together evenly - Mind the sharp ends and find your nearest PlayBack Guitar String Recycling center.
Step 4: Cleaning and Inspecting the Guitar
1. With the old strings removed, take the opportunity to clean the fretboard and body of your guitar. Gently wipe away any accumulated dirt or grime using a clean microfiber cloth.
2. Inspect the guitar for any potential issues such as loose or damaged frets, worn bridge pins, or structural damage. If you notice any problems, it may be wise to consult a professional guitar technician. Remember to humidify! In the long run, it will save you money, not having to visit the tech.
Step 5: Preparing the New Strings
1. Select the appropriate set of strings for your guitar type and playing style. Not sure which is right for you? Try our String Finder tool to find your perfect strings.
2. Unwind the new strings from the packaging, being mindful not to kink or damage them.
3. Note the string gauges, which are typically indicated on the packaging by the colored ball ends.
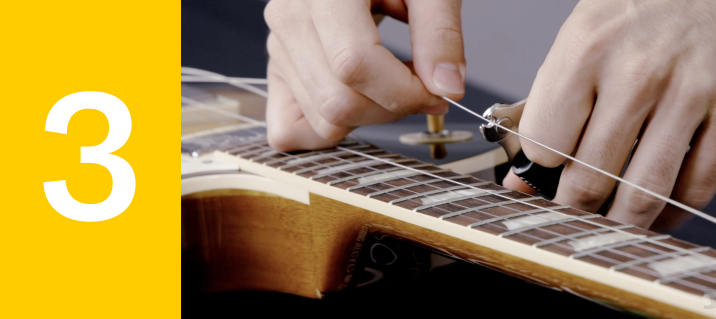
Step 6: Restringing the Guitar
1. Start by threading the string through the appropriate hole in the bridge. Make sure the ball end of the string is securely seated or it can slip, causing tuning issues.
2. Guide the string up to the appropriate tuning peg, leaving an excess length for winding. On modern-style tuners (where the string goes through the peg hole) you’ll want to put your palm upright under the 12th fret and use that to estimate how much excess length you need. On vintage style tuners (where the string goes down into a hole in the tuning peg, like on early Telecasters) you’ll want to pull the string at slack and cut the excess length 2 tuners past the one you’re installing, The A string should be cut at the G string tuning post, etc.
3. Insert the string through the tuning peg hole and start winding the peg counterclockwise. In most cases, the string will turn away from the logo, regardless of tuning peg orientation. Make sure the string wraps under itself to ensure proper installation. Using the above techniques, you should get about two wraps down the post and a third heading down to the bridge.
4. Use the string winder to tighten the string until it reaches the desired pitch. Repeat this process for each remaining string, remembering to follow the appropriate string order and tune each string as you go. Don’t overdo it or your new strings could break.
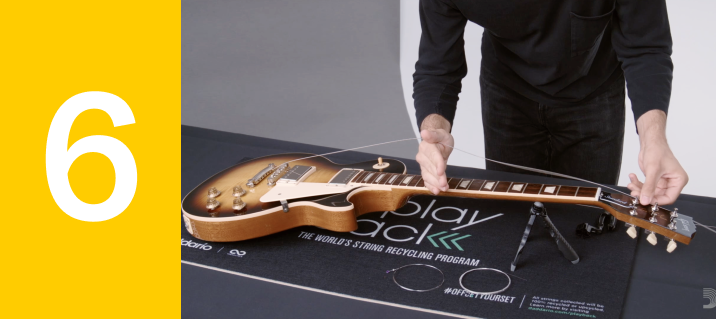
Step 7: Settling and Tuning the New Strings
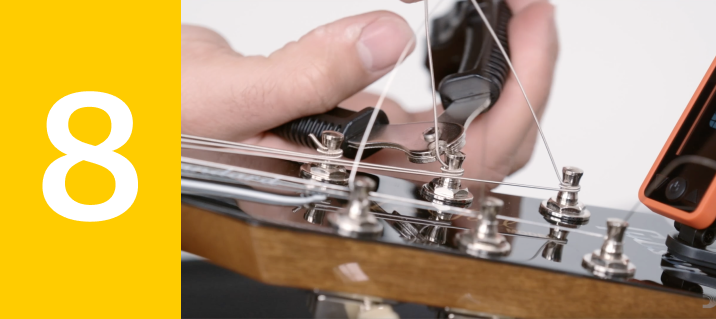
1. After all the new strings are attached and tuned to pitch, gently stretch each string to help it settle and stabilize.
2. Pull each string away from the fretboard at the 12th fret, being cautious not to exert excessive force that could break the string. You’re not stretching the metal, you’re simply helping it sit right in the bridge and at the tuner.
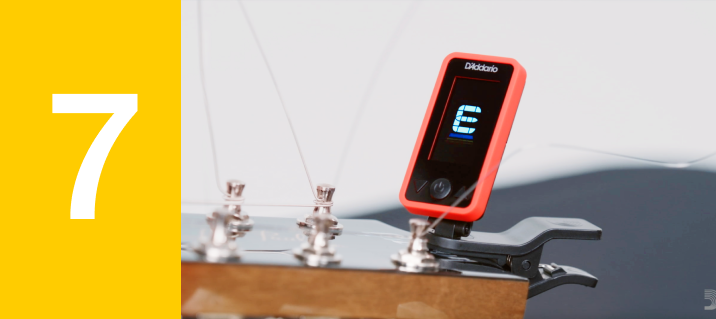
3. Retune the guitar using a tuner, play a bit, and retune again. Repeat this process until the strings hold their pitch reliably.
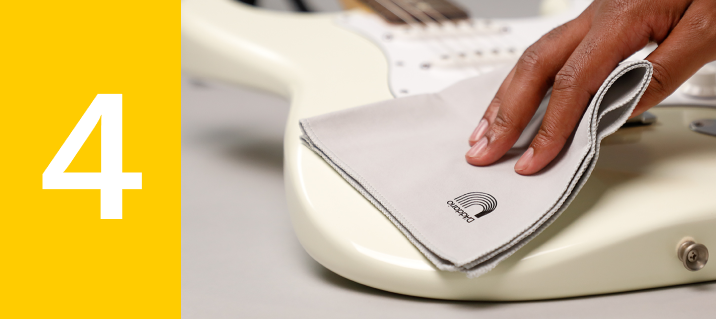
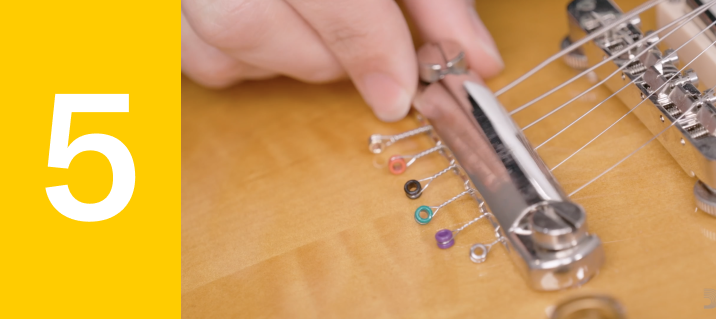
Step 8: Post-Restringing Maintenance
1. Trim any excess string length using your Pro-Winder or wire cutters, cutting the string to the post after it is up to tune and settled.
2. If desired, apply a small amount of guitar polish to a clean cloth and gently buff the guitar's body to restore its shine.
3. Dispose of the old strings responsibly, such as at a D’Addario PlayBack location.
Step 9: Knowing When To Change Again

Generally, your guitar and strings will tell you when it is time for new strings. Due to the differences in our body chemistry, local weather, and personal sound preferences, some people change strings daily and others once a career! A good bet is once a month or two. If you can hear a significant change in the strings’ sound or are experiencing excessive pitting or other signs of rust on the strings, it is definitely time to change the strings.
CONCLUSION
Being able to restring your electric guitar is a valuable skill for every player. By following the steps outlined in this comprehensive guide, you can ensure that your guitar remains in optimal playing condition, with consistent sound quality and playability. Remember to approach the process with patience and care, and don't hesitate to seek professional assistance if you encounter any difficulties. Like playing, restringing perfectly takes time and practice! It will become easier with time. With regular restringing and proper maintenance, your guitar will continue to be a reliable and enjoyable musical companion for years to come.