XPND pedalboards are made to adapt to you. Whether you choose the sleek, single row of XPND 1 or the double row build of XPND 2, you can easily adjust the length to add, subtract, and rearrange pedals how you want, when you want.


Pedalboards and Pedalboard Accessories
XPND pedalboards, cases, and accessories are made to adapt to you. Create the most versatile, effective, and easy-to-use pedalboard setup you can imagine, with XPND pedalboards and accessories.
How To Build a Pedalboard
A 5-step guide to making your XPND pedalboard
perfect for you.
Before you get started, please note that XPND pedalboards do not come with patch cables or power sources. They do include pre-applied loop Velcro on the board and hook Velcro for the underside of your pedals.
Step 1 - Choose Your Pedalboard
First, decide whether you need a single or double row pedalboard. XPND 1’s single row design is made to accommodate between 4 and 8 pedals, while our double row XPND 2 can house between 10 and 20 pedals, depending on your pedal selection and arrangement.
Step 2 - Adjust to the Perfect Length
Both XPND 1 and 2 allow you to adjust the length of your board to fit your pedals perfectly. XPND 1 is expandable from 13.75” to 24.75” and XPND 2 is expandable from 17.5” to 31.75”. After you follow XPND’s simple assembly instructions, just open the latches on the rails, slide the board to your preferred length, and close the latches to lock it in place. Now you’re ready to build.
Step 3 - Order and Velcro Your Pedals
While you can innovate as much as you desire, there is some general wisdom as to the order of your signal chain. We recommend checking in with some of your favorite players or trusted YouTubers to determine what’s best for your pedalboard. Here’s an order that is commonly followed:
- Dynamic pedals, like Wah, volume, or other expression pedals
- Tuner
- Distortion/Overdrive/Fuzz
- Flange/Phaser/Modulation
- Delay
- Reverb
Again, there are no “rules” just helpful guidance. You can experiment to find the best signal chain for you.
Once you have your pedal order worked out, set them out on your pedalboard where you’d like them to stay. Be sure you have enough space to run patch and power cables through the cable channel. Once you feel confident in your setup, apply hook Velcro to the bottom of each and secure them.
Step 4 - Run Your Cables
XPND also comes with a one-of-a-kind cable management system, which lets you run the cabling from each pedal neatly down a designated channel. This makes it incredibly easy to keep your board looking neat while getting it powered properly.
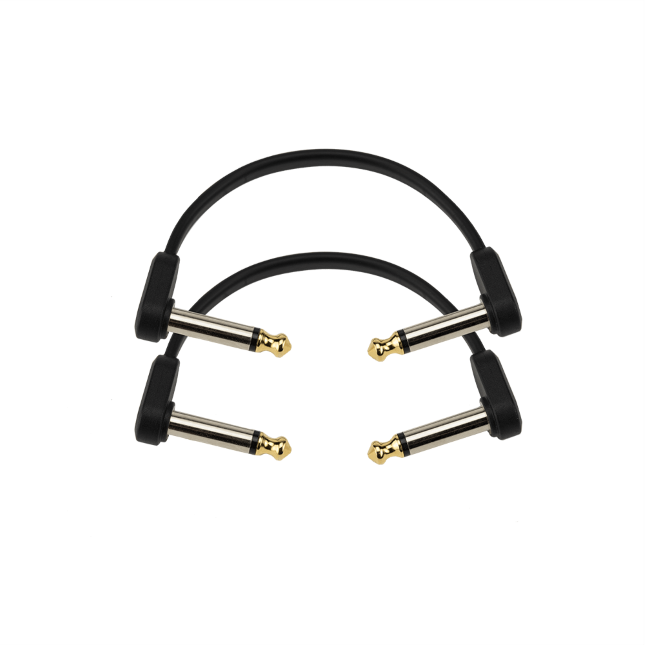
If you’re new to building a pedalboard, you’ll probably want to get some pre-made patch cables. Our Custom Series Flat Patch cables come in a few different sizes. To allow for adjustments to be made to your setup, be sure to have a few of each size on hand.
Similarly, your pedals need power. More than likely your pedals will work with a standard 9v wall adaptor, 9v battery, or a 9v battery adaptor. You can also opt to use a power brick.
If you’re more experienced at building a pedalboard, you can also check out our DIY cable kits to really customize your signal chain.
Step 5 – Plug-in and Play
Give yourself a pat on the back, you just built a pedalboard. Whenever you get more or want less pedals, don’t sweat—XPND will adapt to you.


